Introduction
Managing a silo in JSONsilo allows you to access and modify your stored JSON files. This guide will walk you through the steps to manage an existing silo and access its contents.Step 1: Navigate to Silos dashboard
Go to the “Silos” dashboard from the main menu. Select the silo you want to manage.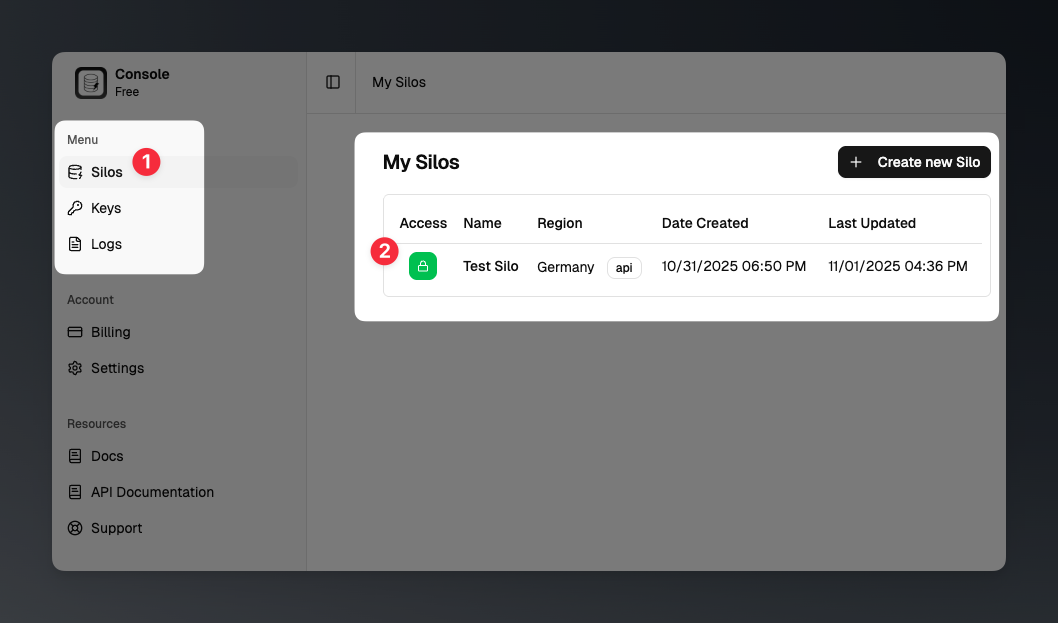
Step 2: View Silo Details
Once you click on the silo you want to view, you will be taken to the silo details page. Here, you can see all the information related to the selected silo, including its JSON content, access settings, and more.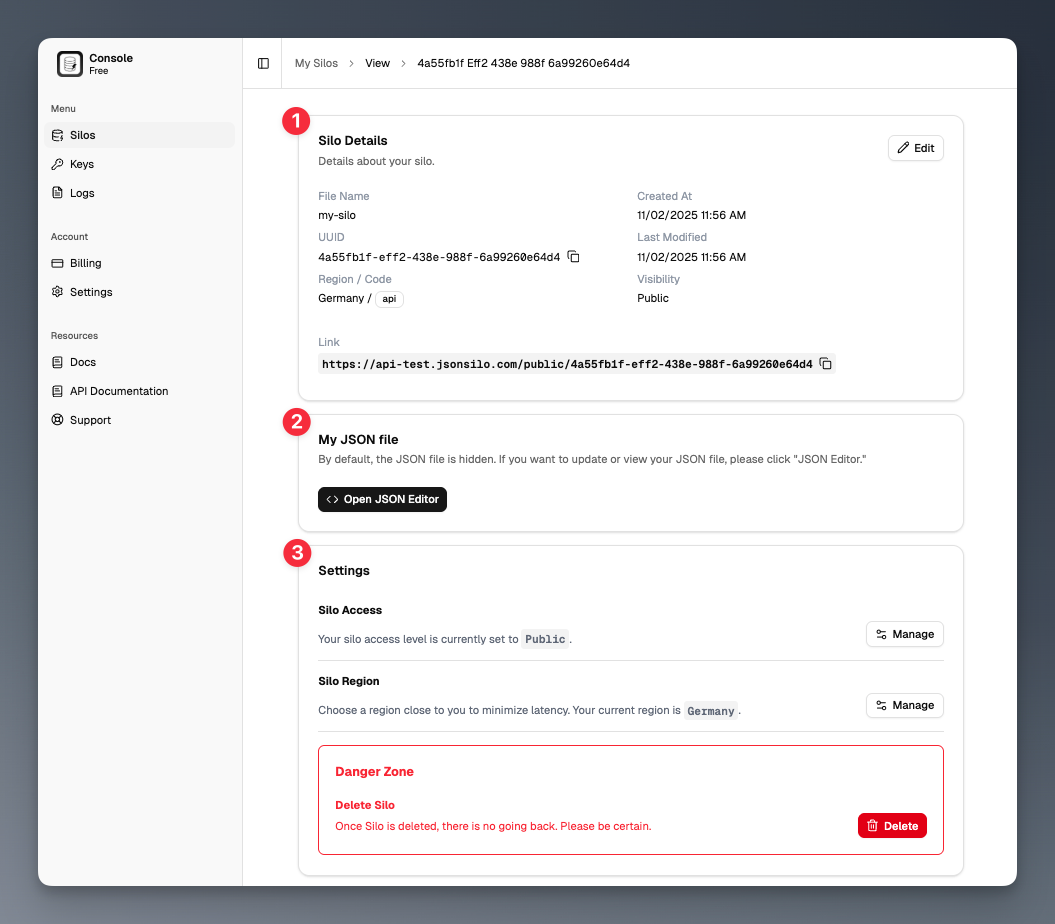
1. Silo Details
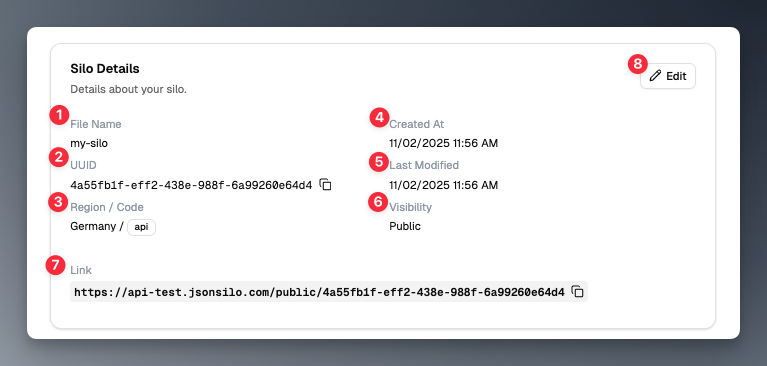
- File Name: The name of the silo.
- File UUID: The unique identifier of the silo.
- Region / Code: The region where the silo is hosted.
- Created At: The date and time the silo was created.
- Last Modified: The date and time the silo was last modified.
- Visibility / Access Type: Indicates whether the silo is public or private.
- Link: The URL to access the silo. For private silos, an Access Key is required.
-
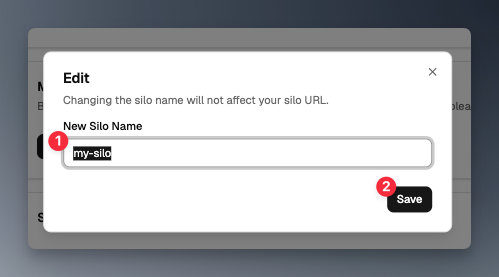
Edit: Click this button to edit the silo’s name.
2. JSON Content
This section shows the JSON content stored in the silo. To view the full JSON structure, click the “Open JSON Editor” button. For more details about the JSON Editor, check out our JSON Editor Documentation.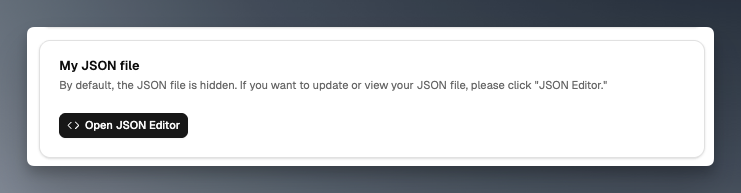
3. Settings
This section allows you to manage silo access, region and delete the silo.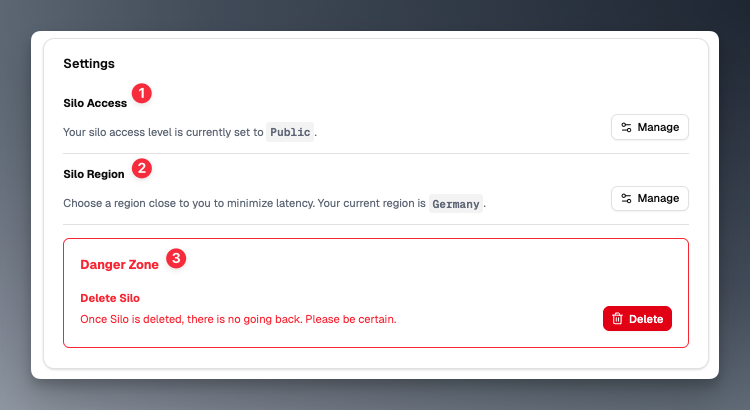
-
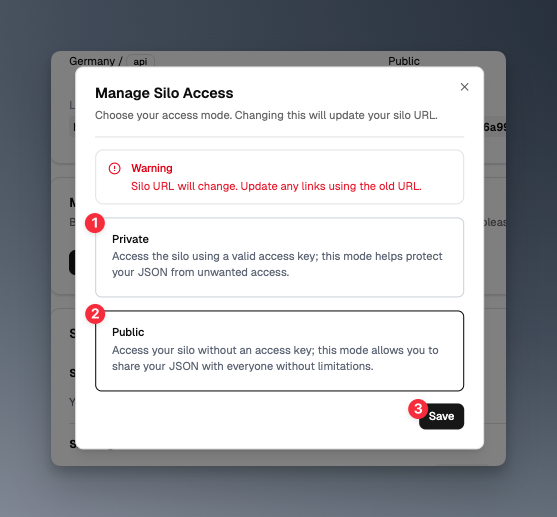
Silo Access: Click the “Manage” button to update the silo’s access settings. You can switch between public and private access types and click “Save” to apply the changes.
-
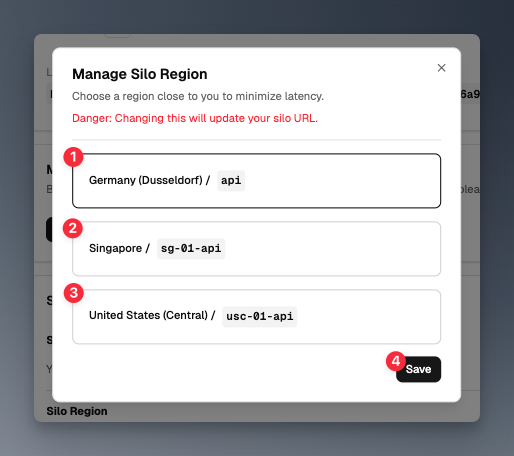
Region: Click the “Manage” button to update the region where the silo is hosted and click “Save” to apply the changes.
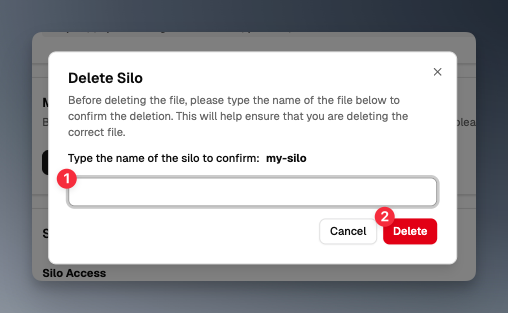
-
Delete Silo: Click the “Delete” button to remove the silo permanently. A confirmation dialog will appear; type the silo name to confirm deletion and click “Delete” to proceed.
What’s next?
- Learn how to use the JSON Editor to edit your JSON data.
- Learn how to Search data in your silo.
- Learn how to Query data in your silo.